
The first master bedroom I ever designed for a client looked perfect on paper. A year later, they called me because the nightstand drawer couldn't open — the bed was six inches too long for the wall. That's when I stopped trusting my eye and started using a room planner before every project, including my own. A room planner is a digital floor plan tool that lets you map out your room's exact dimensions, drop in furniture at scale, and see the layout before you spend a penny. It's the single most useful thing you can do before you buy a new bed, rug, or dresser. Your bedroom doesn't have to be perfect. It just has to be yours — but it helps to know the nightstand will fit.
Why I Use a Room Planner Before Any Redesign
In my eight years designing bedrooms for San Francisco families, a room planner saved more projects than any fancy paint color ever did. One couple wanted a king bed with a bench at the foot. After we put it into the room planner, we saw that the bench left only ten inches of clearance for the closet. We swapped the bench for two poufs that slide under the bed, and the room finally worked.
At home, my daughter Sophie wanted a four-poster bed in her tiny room. We drew her furniture on graph paper, and the scale made clear a queen four-poster would block the window. She chose a daybed instead, and the room came together without tears.

How to Set Up Your Room Planner in 10 Minutes
You don't need a design degree to get started. Here's the simple method I use for every project. First, measure the four walls of your room from corner to corner. Then measure the height of the ceiling at two points. Mark every window and door with its width and the direction it swings. Don't forget baseboard heaters, built-ins, and outlets — those three details cause more layout headaches than anything else. Finally, measure the path from the doorway to the window, because that's often the only clear walkway.
Now open your room planner. Free tools like Planner 5D, Coohom, or HomeByMe let you draw a room and drag in furniture. If you're old school, graph paper with a 1/4-inch scale works too. Start by drawing the walls, then add the fixed elements. Don't worry about decorating yet. Your goal is a blank box with doors, windows, and outlets.
The Floor Plan Mistakes a Room Planner Catches Early
During a recent guest room refresh, I caught a classic mistake by moving a dresser in my room planner. The room was 11 by 12 feet, and a six-drawer dresser from West Elm looked fine on the short wall. But when I added the door swing, the dresser blocked it completely. A room planner shows you these problems before you carry anything upstairs.
Another common mistake is leaving too little space at the foot of the bed. Most sleep experts suggest at least two feet of clearance. This tool lets me measure that gap precisely. I also test rug sizes. A 5x8 rug in a 10x12 room shifts the visual balance when placed under the bed. Seeing it in a plan beats guessing.
Finally, this plan helped with nightstands too. In my own master suite, the planner revealed that my bedside tables were too wide for the room. I swapped them for narrow ones with a shelf below, and now the room feels twice as spacious.
Choosing the Right Room Planner Tool for Your Budget
You can spend nothing or a few hundred dollars on a room planner. The free versions of Planner 5D, Roomstyler, and HomeByMe are perfect for a simple bedroom. They let you choose from a library of beds, dressers, and lamps, and they generate a 3D view. I used the free version of Planner 5D for years.
If you're planning a full renovation with electrical work, consider a paid upgrade. RoomSketcher costs about $49 a year and lets you add switches and custom measurements. Floorplanner.com has a free tier and a Pro plan for $29 a month. For a one-off bedroom project, the free tier is enough. I've designed rooms with just a pencil and a pad. The tool doesn't matter; the habit of planning does.
When I started my own bedroom redesign, I used the free Planner 5D app on my phone. I took a screenshot, printed it, and worked through the layout with Tom. That process cost zero dollars and saved us about $1,000 in furniture we didn't buy.
What to Do After You Finish Your Room Plan
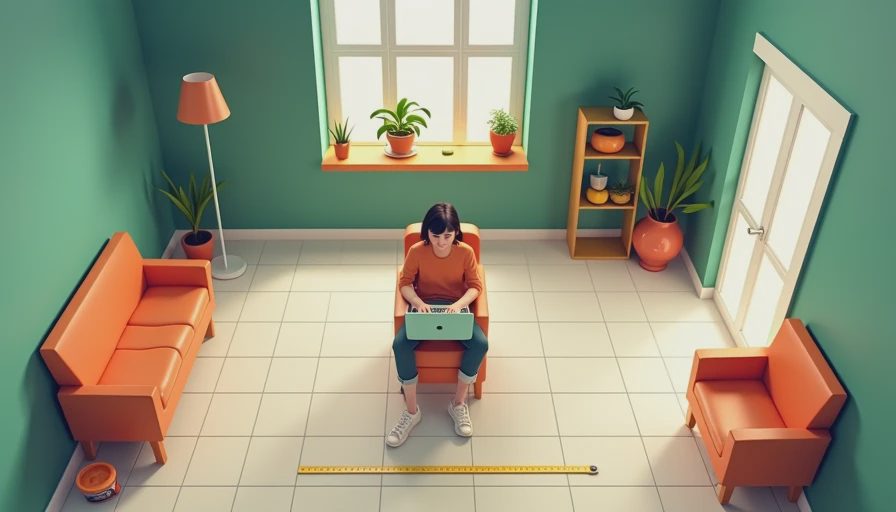
Once the layout feels right, print it out and measure your actual floor space with a measuring tape. Walk the exact dimensions with painter's tape stuck to the floor. That tape creates the walls, and you can physically see how much room a nightstand occupies. It sounds old-fashioned, but it's the best trick in the business.
Take your floor plan with you when you shop. I once used the plan at a local furniture store to check whether a media console would fit against my wall. The salesperson thought I was a contractor. Trust me, it beats standing in the showroom guessing.
Send your room plan to an electrician or carpenter before the work starts. They'll appreciate the clarity. Keep the plan somewhere handy; you'll need it whenever you buy a lamp, a bed frame, or a rug.
This weekend, pick one room — ideally your bedroom — and spend half an hour measuring it and putting it into a room planner. You don't need any design software experience, just a tape measure and a free app. Your bedroom doesn't have to be perfect. It just has to be yours, and now you'll know exactly how to make it feel that way.