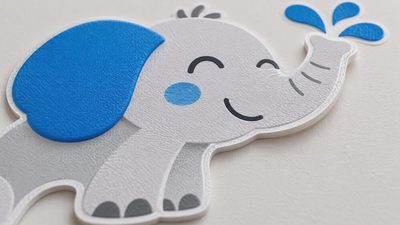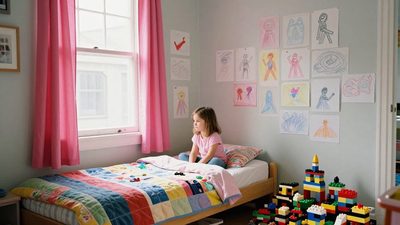
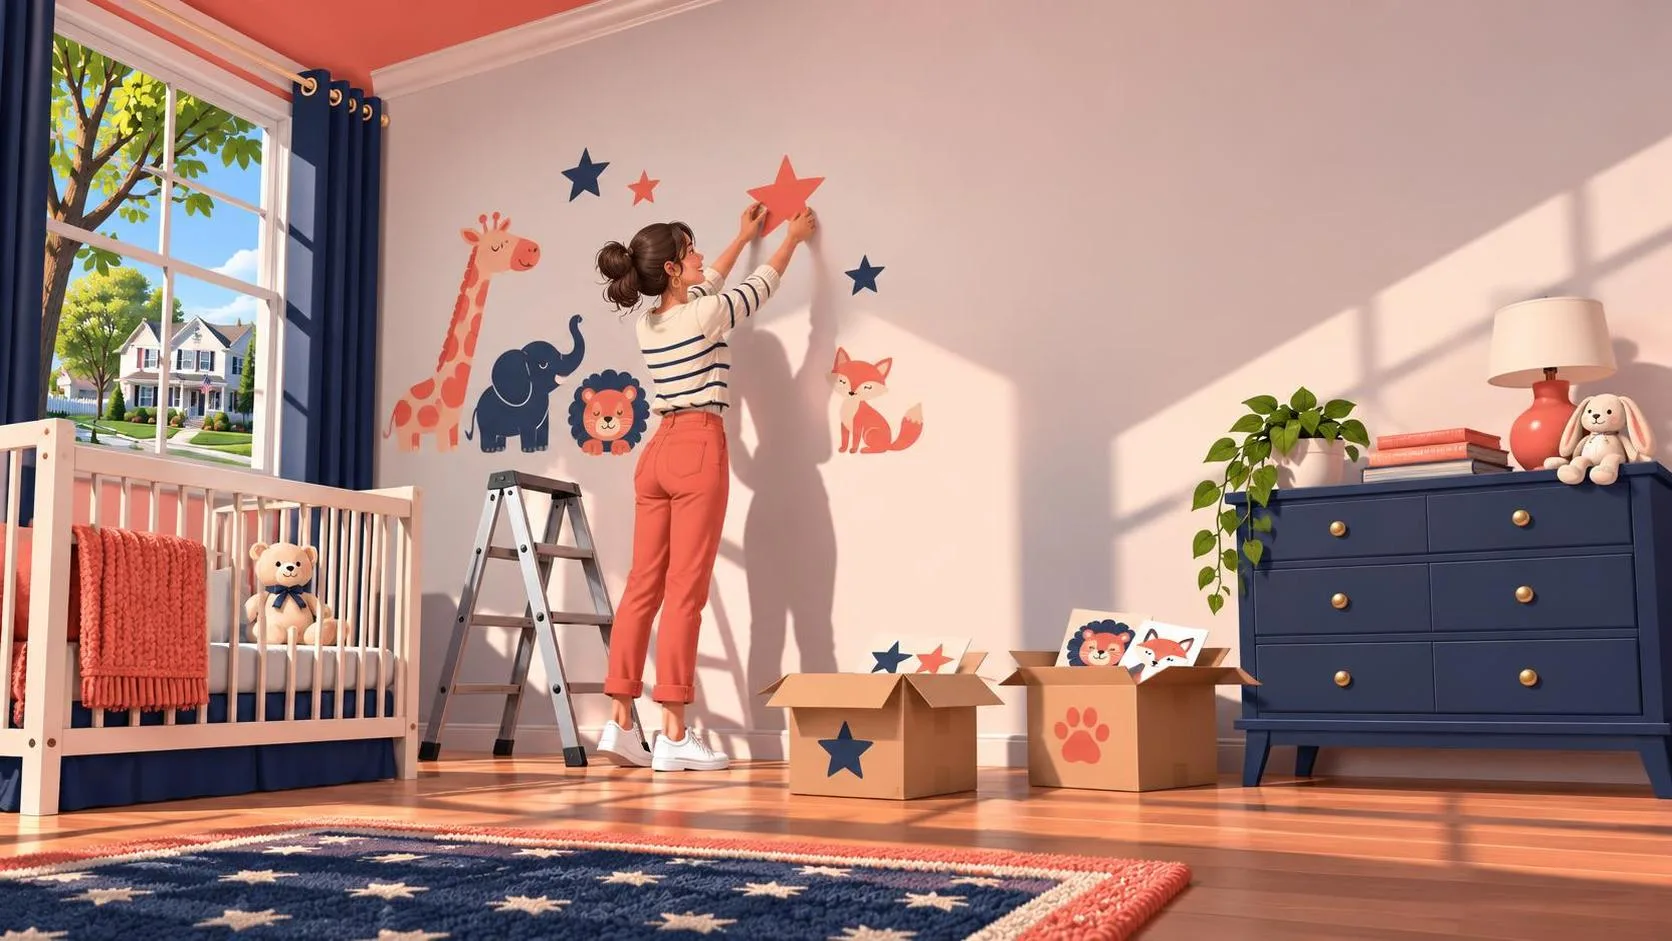
Sophie’s bedroom is a rotating gallery of drawings taped to the walls, which is a good reminder that children’s rooms rarely stay finished for long. Nursery decals can give a baby’s room that same sense of personality without committing you to a mural: choose a simple pattern, put it on a compatible wall, and plan for the day your child wants something completely different.
My favorite approach is to treat decals as one layer of the room, not the whole design. A scattering of leaves beside a reading chair or a row of stars on a clear wall can do more for a small space than covering every available inch. Before ordering, check the surface requirements and removal instructions; removable does not always mean harmless to paint.
Pick a design that leaves room to grow
Start with the feeling you want when you walk in for a midnight feeding. If the answer is calm, look for a limited palette and shapes with some breathing room between them. Soft green leaves, warm-colored dots, or a few oversized clouds can work with baby furniture now and a small bed later.
Nursery decals also give you permission to be playful without making every purchase match. If you love woodland animals, try a few on one wall rather than repeating foxes on the sheets, rug, curtains, and lamp. A plain rug and simple curtains will be easier to reuse when the room’s interests change.
Scale matters more than the photo on the package. Cut a few shapes from scrap paper in the listed dimensions and tape them to the wall. Stand in the doorway and look again from the feeding chair. Tiny stars may disappear on a large wall; an enormous rainbow can crowd a narrow one. That five-minute paper test is much less frustrating than discovering the difference after the backing is off.
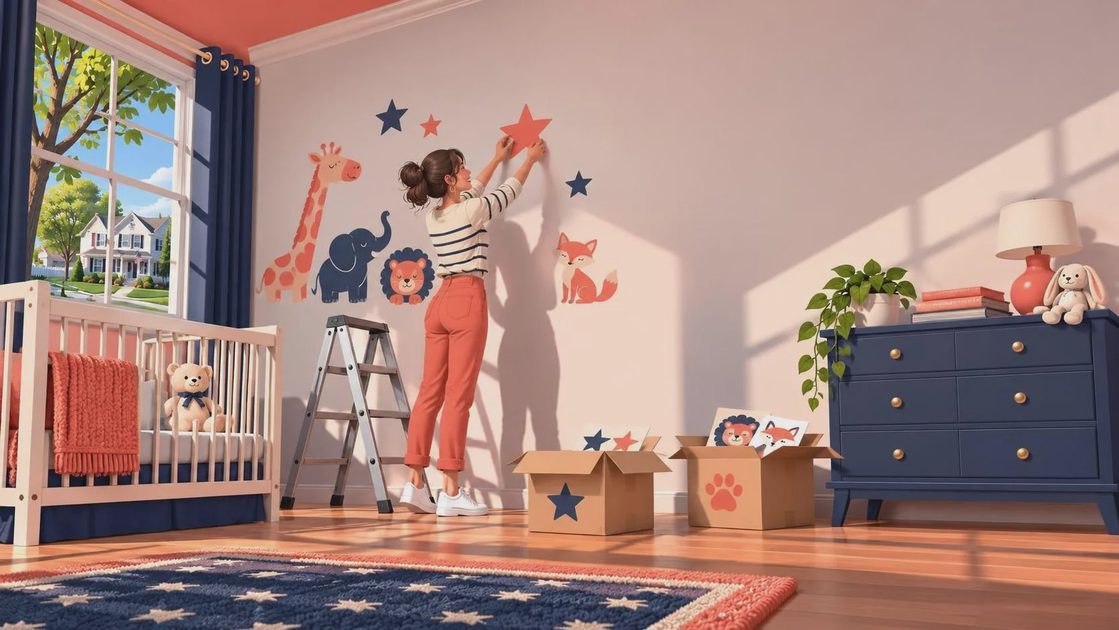
For a shared room, consider a motif that can stretch across the space without assigning one theme to each child. A loose trail of dots or leaves can connect two sides of the room while allowing each child to add their own art later.
Check the wall before you buy nursery decals
The prettiest design won’t help if it refuses to stick. Read the seller’s guidance for your particular surface. Many decals are intended for smooth, clean, painted walls; texture, peeling paint, wallpaper, and certain paint finishes can make adhesion or removal less predictable. An older apartment wall with layers of paint deserves particular caution.
If you have recently painted, follow both the paint manufacturer’s curing guidance and the decal maker’s instructions before applying anything. Paint can feel dry long before it has fully cured. Applying adhesive too soon may interfere with adhesion or damage the finish when you remove it.
A sample is worth ordering when available. Place it somewhere inconspicuous, leave it on for the period specified by the maker, and remove it according to the instructions. A successful short test is useful, though it cannot guarantee that a decal will come off cleanly after years on the wall.
Renters should check their lease and ask the landlord about wall treatments if the rules are unclear. Keep a little matching paint for touch-ups if you have permission to use it. Even careful removal can lift a weak paint layer, and a touch-up may still show if the original paint has faded.
Plan the layout around the furniture
Measure the usable wall, not just the full width of the room. A door swing, curtain panel, dresser, and changing setup all affect what remains visible. Mark the outer edges of your intended arrangement with small pieces of painter’s tape, provided the tape is suitable for your finish. Then move the paper shapes around until the composition feels balanced.
I like leaving generous blank space around a design. It makes the room feel quieter and gives future artwork somewhere to go. For a scattered pattern, vary the direction of the shapes and avoid lining them up accidentally in rigid rows. Take a photo of the paper layout before you start applying anything; it is an easy reference once you are standing on a step stool with a backing sheet in your hand.

Think about what your baby will see and eventually reach. Keep nursery decals out of a child’s reach, including from the crib and nearby furniture, and check them regularly for lifting edges. A loose piece of adhesive material can become a choking hazard. The simplest choice is to decorate a wall away from the sleep space and keep the crib itself clear of decorations and loose objects.
Apply carefully, then make removal easier
Clean the wall as the decal maker recommends and let it dry completely. Avoid guessing at cleaning products: residue can affect adhesion, and a harsh cleaner can damage paint. Arrange your pieces on the floor first, especially if the design has a specific sequence.
Peel and apply slowly, following the included directions for any transfer film. Smooth from the center outward with the tool recommended by the manufacturer to reduce bubbles. If you need to reposition a piece, do it gently rather than pulling quickly. Some products tolerate repositioning better than others, so check the instructions before treating the wall like a giant sticker book.
When it is time for a change, start at one corner and peel slowly according to the maker’s directions. They may recommend gentle warmth for some adhesives, but do not apply heat unless the instructions say it is appropriate for both the product and the surface. Stop if paint begins to lift; a slower approach may help, but it will not repair an unstable finish.
For an inexpensive refresh, you do not need a whole-room set of nursery decals. One small cluster beside a bookshelf can make a lovely focal point, and you can leave the rest of the wall open for framed art as your child grows. This weekend, measure one clear wall and tape up a few paper shapes in a pattern you like. Live with them for a day before you order. Your bedroom doesn’t have to be perfect. It just has to be yours.