The first time Sophie helped me decorate a nursery, she stuck a paper moon above the changing table and announced that the room needed “more night.” She was right. A nursery can be practical without feeling like a catalog, and nursery wall stickers are one of the easiest ways to add personality without committing to painted clouds, wallpaper, or a mural you will have to remove later.
I like them because they solve a very specific decorating problem: babies need calm surroundings, while parents usually need a room that can change quickly. A set of soft botanical leaves can work for a newborn, a toddler, and even a preschooler. The trick is choosing the right scale, placement, and finish instead of covering every available wall.
Choose a design that can grow with the child
The sweetest nursery design is not always the most useful one. Tiny cartoon animals can be charming at six months, but a child may outgrow them quickly. When I plan a room for a client, I usually begin with a simple visual story: woodland branches, a night sky, abstract arches, garden flowers, or a small collection of stars. Nursery wall stickers in these themes still feel appropriate when the crib becomes a toddler bed.
Look for sets with several sizes rather than a single giant character. Larger leaves or clouds can anchor the wall, while smaller dots and stars help fill awkward spaces. Neutral colors such as warm white, muted sage, clay, dusty blue, and pale mustard are easier to pair with new bedding and curtains than highly saturated primary colors.
The room does not need a complete theme. A cream wall with a few terracotta suns can feel more considered than a full safari set, especially when the rug, lamp, and crib already provide visual interest. Your bedroom does not have to be perfect. It just has to be yours, and the same is true of a nursery.
Plan the wall before opening the package
Here is what I did in my own room before putting up the stickers: I cut rough shapes from grocery-bag paper and taped them to the wall. That five-minute exercise showed me that my first arrangement was far too high. It would have looked attractive from the doorway but disappeared behind the crib from the chair where nighttime feeding actually happened.
Use painter’s tape to mark the crib, dresser, glider, and door swing. Then photograph the wall from the places you will use most. Nursery wall stickers should support the room’s focal point, not compete with it. Above a low dresser, a horizontal branch or rainbow can create balance. Beside a glider, a vertical grouping can draw the eye upward without crowding the chair.
Keep the lower edge high enough that a newly mobile child cannot easily peel it. Avoid placing pieces directly over outlets, switches, vents, or hardware. If you are creating a constellation, lay the full arrangement on the floor first and take a picture. The floor gives you a useful map when the individual dots start looking surprisingly similar.
Buy for the actual wall surface
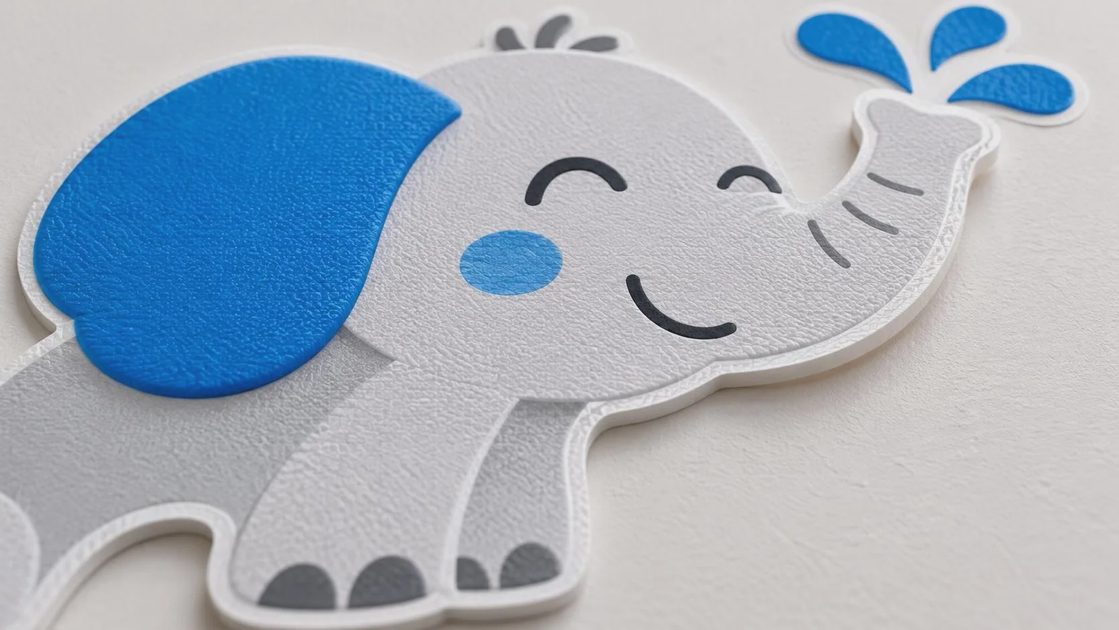
Not every wall accepts removable décor in the same way. Smooth, clean, painted drywall is usually the easiest surface. Lightly textured walls can cause edges to lift, while fresh paint may not be fully cured even when it feels dry. I prefer waiting at least several weeks after painting, then testing one small piece behind the dresser.
Nursery wall stickers are not a substitute for proper wall preparation. Dust, grease, and hand lotion can keep the adhesive from bonding. Wipe the wall with a clean, dry microfiber cloth before installation. Do not use an oily furniture spray, and be careful with older paint that might already be flaking.
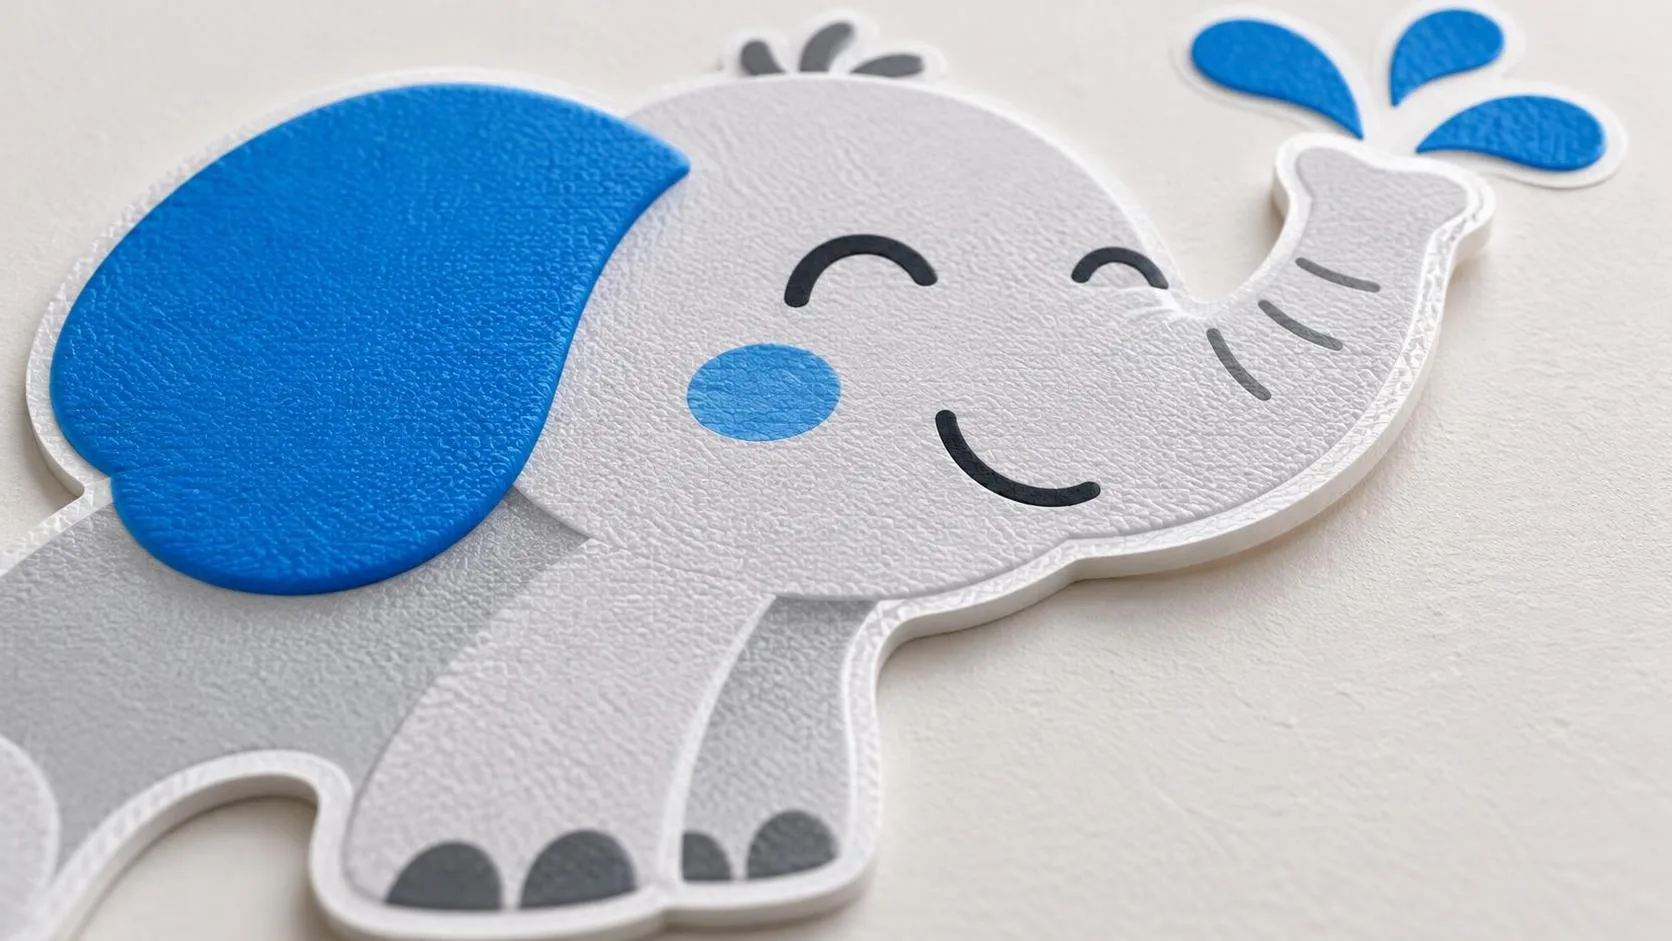
Read the product instructions before buying. Some decals are repositionable only during the first few minutes, while others are designed for one-time placement. A $20 to $45 set can be a good value, but the cheapest option is not a bargain if it pulls paint away or leaves a visible edge after removal. Keep the packaging until you know the pieces work on your wall.
Create a calm composition, not a busy backdrop
A nursery is already full of visual information: books, stuffed animals, diaper supplies, clothing, and the inevitable basket of laundry. Nursery wall stickers work best when they give the eye somewhere to rest. I often use one large cluster over the crib wall and leave the other walls quiet.
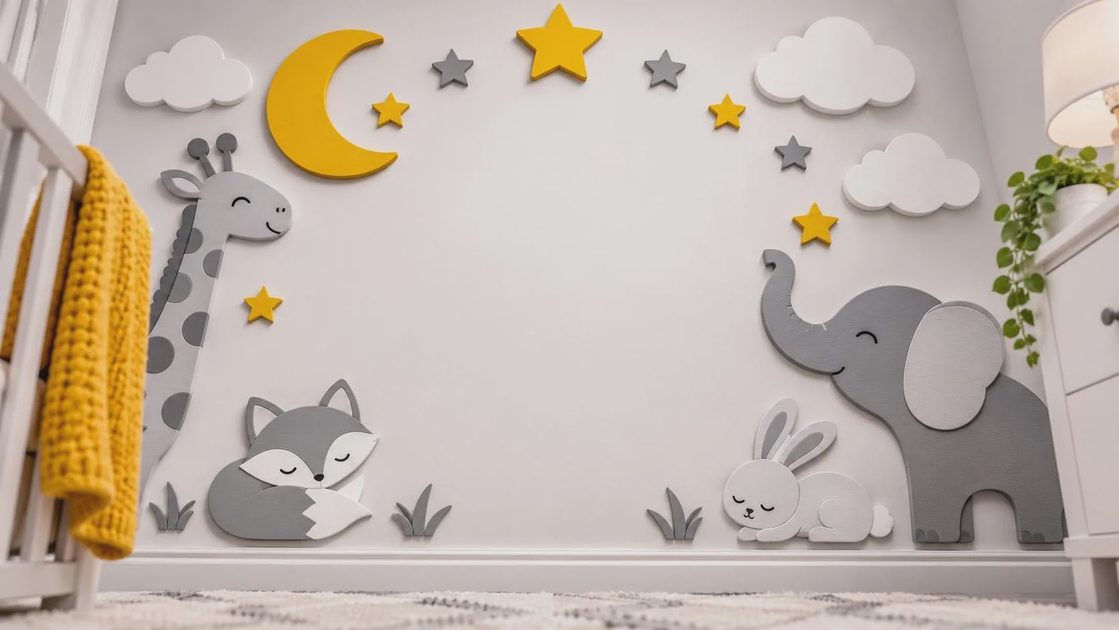
A useful composition has a beginning, middle, and end. Put the largest element slightly off-center, add medium pieces nearby, and scatter the smallest pieces outward. Repeating a color from the rug or lampshade will make the stickers feel connected to the rest of the room. If the walls are pale, choose a design with enough contrast to read in morning light without becoming harsh at night.
Do not line every piece up at the same height. A gentle diagonal or loose arc feels more natural than a ruler-straight row. For a small apartment nursery, a vertical arrangement can make the ceiling feel taller. In a larger room, a wide branch or cloud grouping can visually shorten an empty wall and make the crib area feel more enclosed.
Install nursery wall stickers without the frustration
Start with the largest piece and work outward. Hold it against the wall with a small piece of painter’s tape, step back, and check it from the doorway. Once the position looks right, smooth from the center toward the edges with a clean credit card or the backing tool supplied by the manufacturer.
Do not stretch the vinyl while applying it. Stretching can create tension that pulls the corners up later. If you see a bubble, lift the piece slowly from the nearest edge and smooth it again. For long branches or rainbows, ask another adult to hold one side while you position the other. This is one of those tasks that is technically simple but much easier with a second pair of hands.
If the design includes many small pieces, place a few, take a break, and return with fresh eyes. I once installed an entire set of stars late at night and discovered in daylight that they formed a very accidental-looking triangle. Nursery wall stickers are forgiving, but patience is still cheaper than replacing a whole set.
Make safety part of the design
Keep all removable décor out of a child’s reach, especially near the crib once the mattress is lowered and the child begins standing. Do not place stickers on the crib, changing pad, curtains, or furniture. Follow the manufacturer’s guidance for the wall surface and inspect the edges occasionally for lifting.
Choose low-odor products from a seller that clearly explains the material and removal process. The sticker itself should never become a loose object in the crib. If a corner begins peeling, remove the entire piece rather than pressing it down and hoping it holds. Nursery wall stickers are decorative accents, not toys, so placement matters as much as appearance.
Removal and the next room transition
The best test of a nursery accessory comes when the room needs to change. To remove nursery wall stickers, warm the surface gently with a hair dryer on a low setting, then lift from a corner and pull slowly at a shallow angle. Do not yank downward. If residue remains, use a small amount of mild soapy water on a cloth after testing an inconspicuous area.
When the crib becomes a bed, you might move the stickers to a reading corner or add a new color of bedding instead of starting over. A moon set can become part of a space-themed toddler room; botanical leaves can sit above a bookshelf; simple rainbows can work with a homework table years later. That flexibility is why I prefer restrained designs over a full character scene.
This weekend, tape paper versions of your favorite shapes to the wall and live with them for one day. Check the view from the glider, doorway, and floor. If the arrangement still feels calm after a night and a morning, you are ready to install. Your bedroom does not have to be perfect. It just has to be yours.